UA-46001547-1
Showing posts with label fermentation. Show all posts

Monday, September 9, 2013

Fermented Salsa


I don't make salsa often. When I do, its usually summer and I need to use up an abundance of tomatoes. I generally dont use any recipe, I just chop tomatoes, onions, garlic, cilantro and chilis. Unfortunately, I didn't stagger my cilantro growing properly and all the mature plants have long been used up and all I have growing are tiny little slow growing sprouts. So, no cilantro. A little bit of acidity is really good at bringing out all the flavors, much like salt. Fresh salsa often gets lime juice and canned usually gets a little vinegar. I thought that making my salsa and then treating it like kim chi would be an interesting way to add that acidity. I put my salsa in a quart mason jar and let it sit out for 3 days, stirring twice a day. It was so good! There was lots of skins, which annoys me in salsa, because I used so many cherry tomatoes and after days of stirring and breaking them up they separated from the fruits. It was really tasty though. Also, I think we are growing yellow jalapeno? Who knew? One plant has chilies that fade to yellow and then get brighter and brighter yellow and never show any signs of a red blush. I didnt realize such a thing even existed...

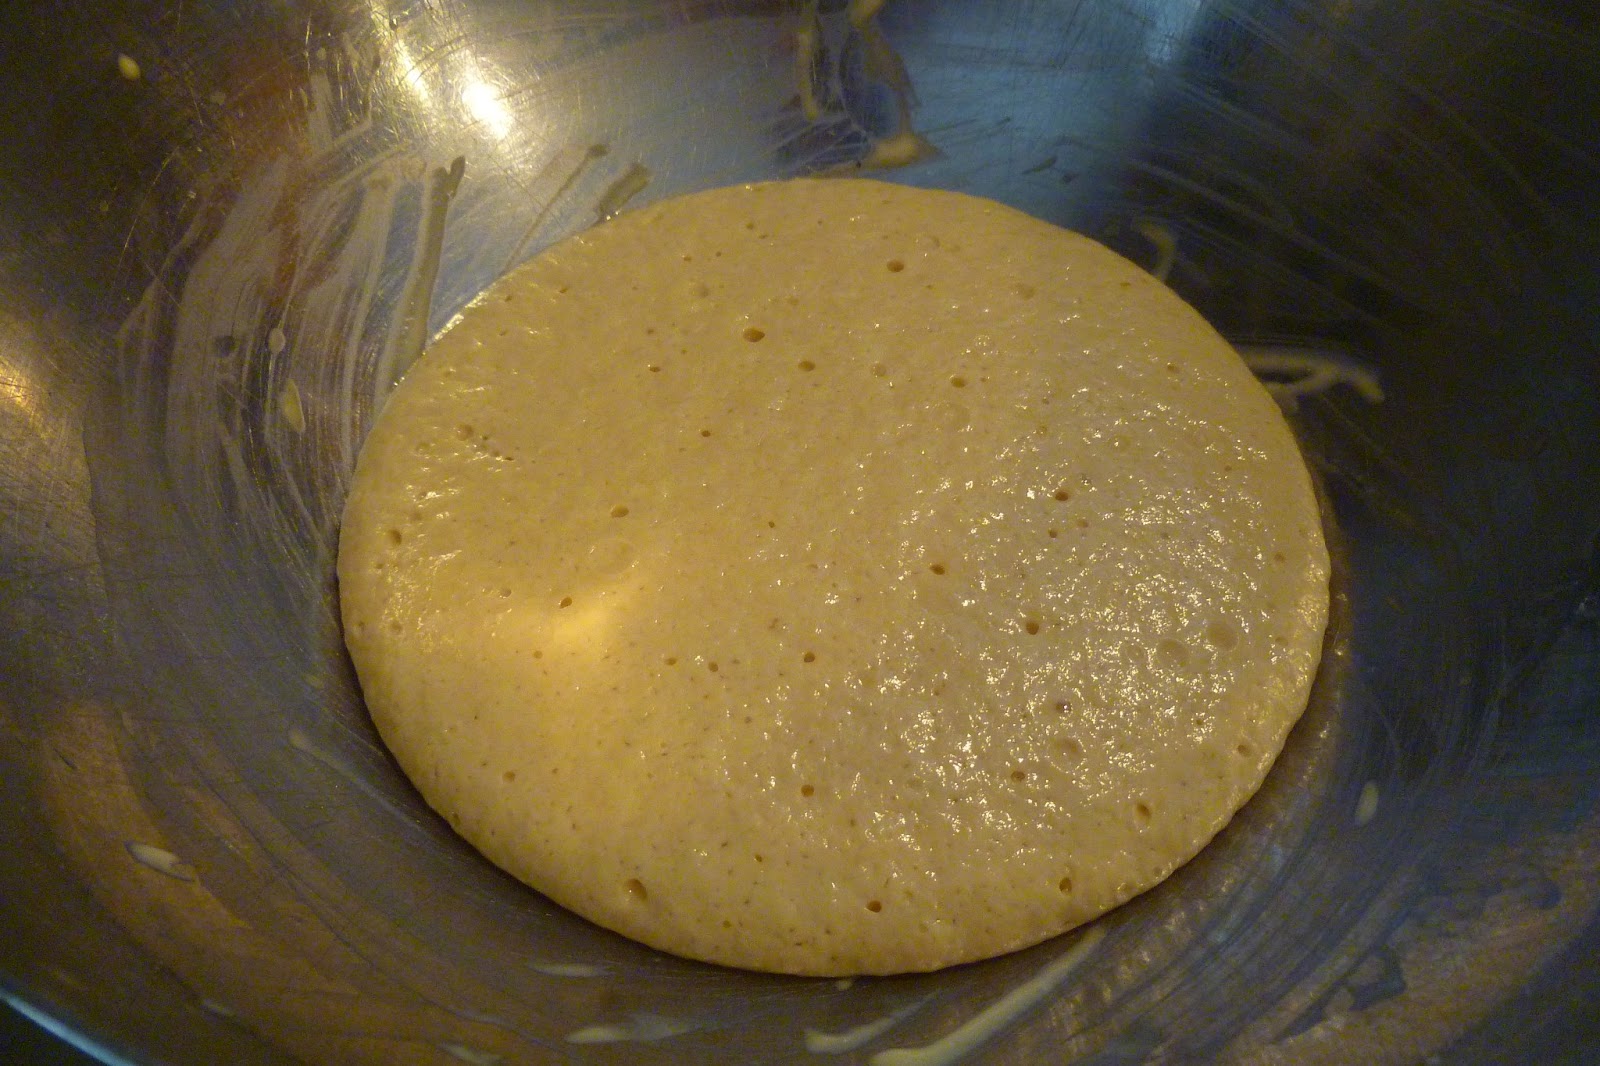
after sittimg for a day
all stirred back in

Raw Fermented Salsa

~ 3C chopped tomatoes, tossed w/ salt and left in a strainer while chopping other veg
1/2 onion, diced
1/2 green pepper, diced
garlic clove, minced
2 yellow jalapeno, minced
1 Tbl brine from raw cumin beet pickles

Set a strainer over a bowl. Chop tomatoes and put in strainer. Salt heavily and stir a few times while preparing other ingredients. I was able to draw out about 5 oz of liquid from the tomatoes. This greatly improved the texture of the finished salsa. Combine all ingredients in a quart mason jar and stir with a chopstick. Put a lid on lightly, it doesnt need to be air tight. Stir every 12 hours until it starts to smell slightly sour. For me this only took 3 days in the low 80s. I expected it to be quick because everything was chopped small or was a soft tomato. Really good. Im going to make more before summer is over....


Sunday, August 4, 2013

Kombucha

new 10 day old Kombucha scoby, after mature Kombucha was drained
I love GT Dave's Trilogy Kombucha. Its pretty much the only one I ever buy. Ginger/ lemon/ raspberry perfection. I don't really buy it often these days but there was a time when I did. There also was a time about 4 or 5 years ago, when I made my own Kombucha for a little while. It was never great but I was never too methodical about it either and it was always drinkable.
mother scoby

Recently a friend gave me a new kombucha scoby. (symbiotic. culture. of. bacteria. & yeast.) There are many traditional ferments that are scoby based. Kombucha thrives in an acidic environment made of sweet tea. Weird, right? When its done fermenting its fizzy and sour and sometimes a little sweet still. The culture eats up the sugars and converts them into lactic acid, carbon dioxide, probiotic bacterias and more.

 The first time I made it years ago, I based my recipe off of Sandor Katz's Wild Fermentation book. This time I based it off of his Art of Fermentation. He's the best. While his style is not my style by any means, I really enjoy reading everything he does. Its really accessible. He gives really rough recipes/ encouragements in paragraph form. This is what I took away from it:

Kombucha

12 tea bags, steeped 4 mins
6 C boiled water, rested for about 2 mins before steeping
1 1/2 C sugar, stirred into tea after tea bags removed
6 C boiled and then cooled water
1/4 C mature Kombucha
Kombucha mother
3 Tbl raw cider vinegar


new scoby beginning to form
Boiling water is essential to remove chlorine, which lots of fermentation projects dislike. If you have boiled and cooled water to begin with, you can proceed faster. If not, make tea with the full 12 C and then let it cool forever. Make sure it is room temperature before adding mature Kombucha or scoby or you might kill it. I didn't have enough mature kombucha with my scoby, its supposed to be about 10% of total volume, so I added vinegar to raise the ph and add more raw culture support. You then leave it to ferment for about a week. Ideally it sits in a big open mouth crock or jar, with a covering to dissuade flies but still allow airflow. This fermentation is aerobic and requires fresh air to work properly. I used an old cookie jar, of which i had dropped the lid on my head and shattered it, making it useless for cookies any more, covered in a paper towel and sealed with a rubber band... 


mama scoby creepin up to the new jawn
crazy air bubble island in the scoby
It worked exceptionally well. Generally new layers form onto the mother scoby and as it gets super thick, you can peel away layers and give them to people. For some reason, when I did it, the mama scoby fell to the bottom and sort of floated lackluster near the bottom of the jar. However, a brand new, beast-thick scoby formed at the top. After about 8 days, the mama was creeping up towards the baby but it never connected. I waited 10 days (averaging in the low 80's the whole time) before bottling it, which was this afternoon. I bottled up four Grolsch swing top pints and a plastic bottle to test the carbonation. (you can tell how carbonated its getting by squeezing, something you cannot do with glass) If it carbonated too much they will explode, so the tester is nice to have. I think it will be a few days until I move them to the fridge. Fermentation slows dramatically in the refrigerator but doesn't quite stop.


I made 2 new batches of sweet tea before I attempted to bottle up the finished Kombucha. I have a smaller crock that I'm putting the original mother in, to see if it makes a new baby or just gets bigger.  And I'm putting the baby but already huge scoby into the same big jar again, because it fits it perfectly. 


next round
Hopefully they will carbonate nicely and taste delicious. I expect 10 more days until the next cycle is ready. If this first round tastes decent and doesn't need tweaking to get a nice balance of sweet and sour and carbonates nicely, then I will start trying to do a secondary fermentation to add more flavors in the next round.

I should have lots of scobys to give out in the next month for any Philly friends. Ill probably have Kombucha for everyone I know to drink soon also...


Thursday, July 25, 2013

Raspboozy Donuts


I've been making donuts a lot lately. I am trying to get a recipe down that yeilds super poofy, tender and delicious donuts but also isn't too fragile and fussy when raising the dough and getting it into the oil. I really like the ease and results of Wayne Schmidts recipe, and all his thorough research. However, it is heavily yeasted and the dough is so airy that it inevitably begins to fall before it even makes it into the oil. The slightest jostle deflates them. The recipe is very quick though....

Another recipe I've made a few times is from Sherry Yards in her book The Secrets of Baking.  It is for a brioche donut. It is super rich and not sweet. Also it is built very slowly with only a small amount of yeast to start. It takes 3 times as long to make but part of me really enjoys the process and flavor of slowly risen breads. For this recipe, you must first make a sponge. This is a wet starter that allows the yeast to easily multiply before slowing it down with salt, butter and eggs.

Brioche Donuts


Sponge

2 1/2 tsp yeast
1 Tbl brown sugar
1/2 C milk
1/2 C flour


Whisk together and then cover bowl with plastic wrap. Let sit for 30-45 minutes. 

3 C flour
1/2 tsp salt
1/2 tsp cardamom
1/4 tsp cinnamon
4 eggs
1/4 lb  butter


Add flour, salt and spices. 


Beat eggs seperately and add to dough. Add butter 2 Tbls at a time. 


Knead forever if making by hand, until smooth and shiny. 


Cover bowl and let raise until doubled, about 2 hrs. Punch down, cover and raise again for 45 minutes. 


Roll out to about 1/2 inch thick. 


Cut with 2 1/2 inch donut cutters (or a tin can and a soy sauce cap!) and deep fry about 1 minute for each side. 


after sitting an hour out of the freezer


I've been making the dough up until it is ready to fry and freezing it. This recipe takes far too long to make for breakfast but they can be thawed and fried in an hour or 2.


Glaze
raspberry infused vodka
powdered sugar

Whisk until you get a good thick dipping frosting/glaze.